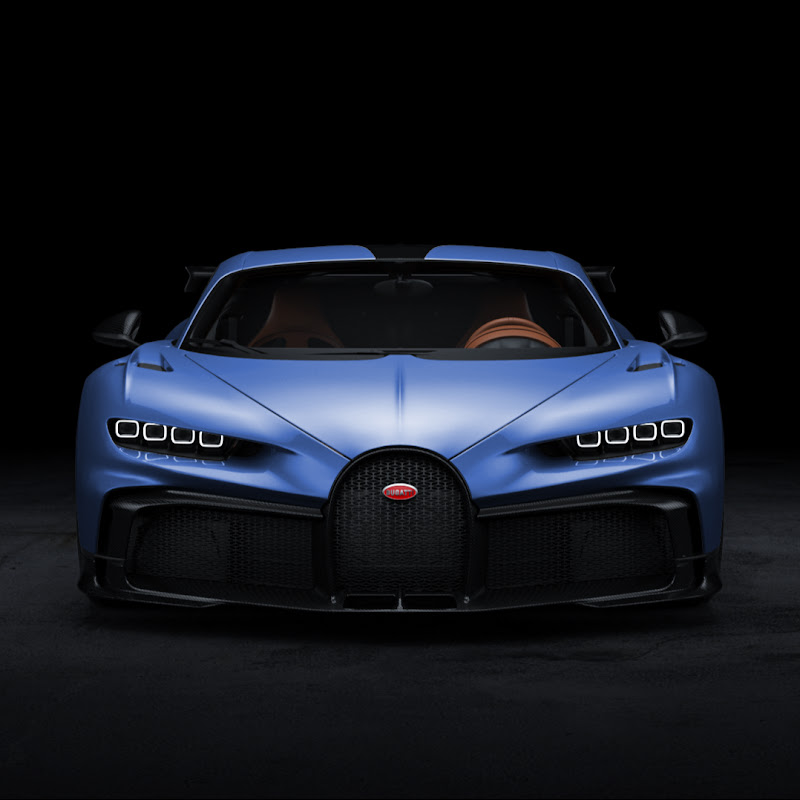
KeyShot Tutorial: Realistic Car Rendering Part 2/2 ( Lighting )
1.7K views · 2023-02-09
Industrial Design
In this tutorial I will show you how to create realistic automotive render. Get 3D files from tutorial here ➡️https://bit.ly/3Pl0PB0
► DESCRIPTION
In this tutorial I will show you how to create realistic automotive renders in KeyShot. This tutorial contain step by step workflow, so if you are beginner you will be able to understand it and achieve same results.
In this final part of the series I will show you how to create custom lighting to make your render unique and also even more realistic. We are going to combine HDR image and HDR pins to create final results. This is the automotive lighting in 10 minutes.
In the part 1/2 of this series, I will show you how to import 3D model into the KeyShot and how to setup new camera for the visualization. Then we are start preparing our preview lighting, so we can easily apply new materials on car. We are gonna use base KeyShot materials with little adjustments to achieve realistic renders like this. The main idea of using KeyShot for rendering of this scene is to show you how easily you can create your own custom realistic renders. I hope, I will see you in the second part of this series.
Part 1/2
➡️https://youtu.be/tS2Wj4flxYw
Support me on Patreon - You can download 3D models or 3D scenes files
3D Scene
➡️http://bit.ly/3JSTMiZ
3D Model
➡️http://bit.ly/3x9fasO
Instagram
➡️https://bit.ly/3IOxEUm
Twitter
➡️https://bit.ly/3SRUzBI
Behance
➡️http://bit.ly/3Ee55xI
Join the KeyShot Forum
➡️http://bit.ly/3I8DC3H
▬ Contents of this video ▬
0:00 - Introduction
0:25 - Create New Lighting
8:30 - KeyShot Adjustments
8:24 - Render Settings
10:10- Photoshop Retouching
13:55 - Outro
► DESCRIPTION
In this tutorial I will show you how to create realistic automotive renders in KeyShot. This tutorial contain step by step workflow, so if you are beginner you will be able to understand it and achieve same results.
In this final part of the series I will show you how to create custom lighting to make your render unique and also even more realistic. We are going to combine HDR image and HDR pins to create final results. This is the automotive lighting in 10 minutes.
In the part 1/2 of this series, I will show you how to import 3D model into the KeyShot and how to setup new camera for the visualization. Then we are start preparing our preview lighting, so we can easily apply new materials on car. We are gonna use base KeyShot materials with little adjustments to achieve realistic renders like this. The main idea of using KeyShot for rendering of this scene is to show you how easily you can create your own custom realistic renders. I hope, I will see you in the second part of this series.
Part 1/2
➡️https://youtu.be/tS2Wj4flxYw
Support me on Patreon - You can download 3D models or 3D scenes files
3D Scene
➡️http://bit.ly/3JSTMiZ
3D Model
➡️http://bit.ly/3x9fasO
➡️https://bit.ly/3IOxEUm
➡️https://bit.ly/3SRUzBI
Behance
➡️http://bit.ly/3Ee55xI
Join the KeyShot Forum
➡️http://bit.ly/3I8DC3H
▬ Contents of this video ▬
0:00 - Introduction
0:25 - Create New Lighting
8:30 - KeyShot Adjustments
8:24 - Render Settings
10:10- Photoshop Retouching
13:55 - Outro